
Part of the course: Front desk in Cary · 2/6
Confirmations, arrivals and appointment changes
Confirm appointments, record who arrived and who didn't, leave internal notes, reschedule, cancel or archive, and release a patient's future appointments in one go.
It all happens in the appointment details, the panel that opens on the right when you click an appointment on the schedule.
Confirm, arrived, did not attend, cancel
Step by step
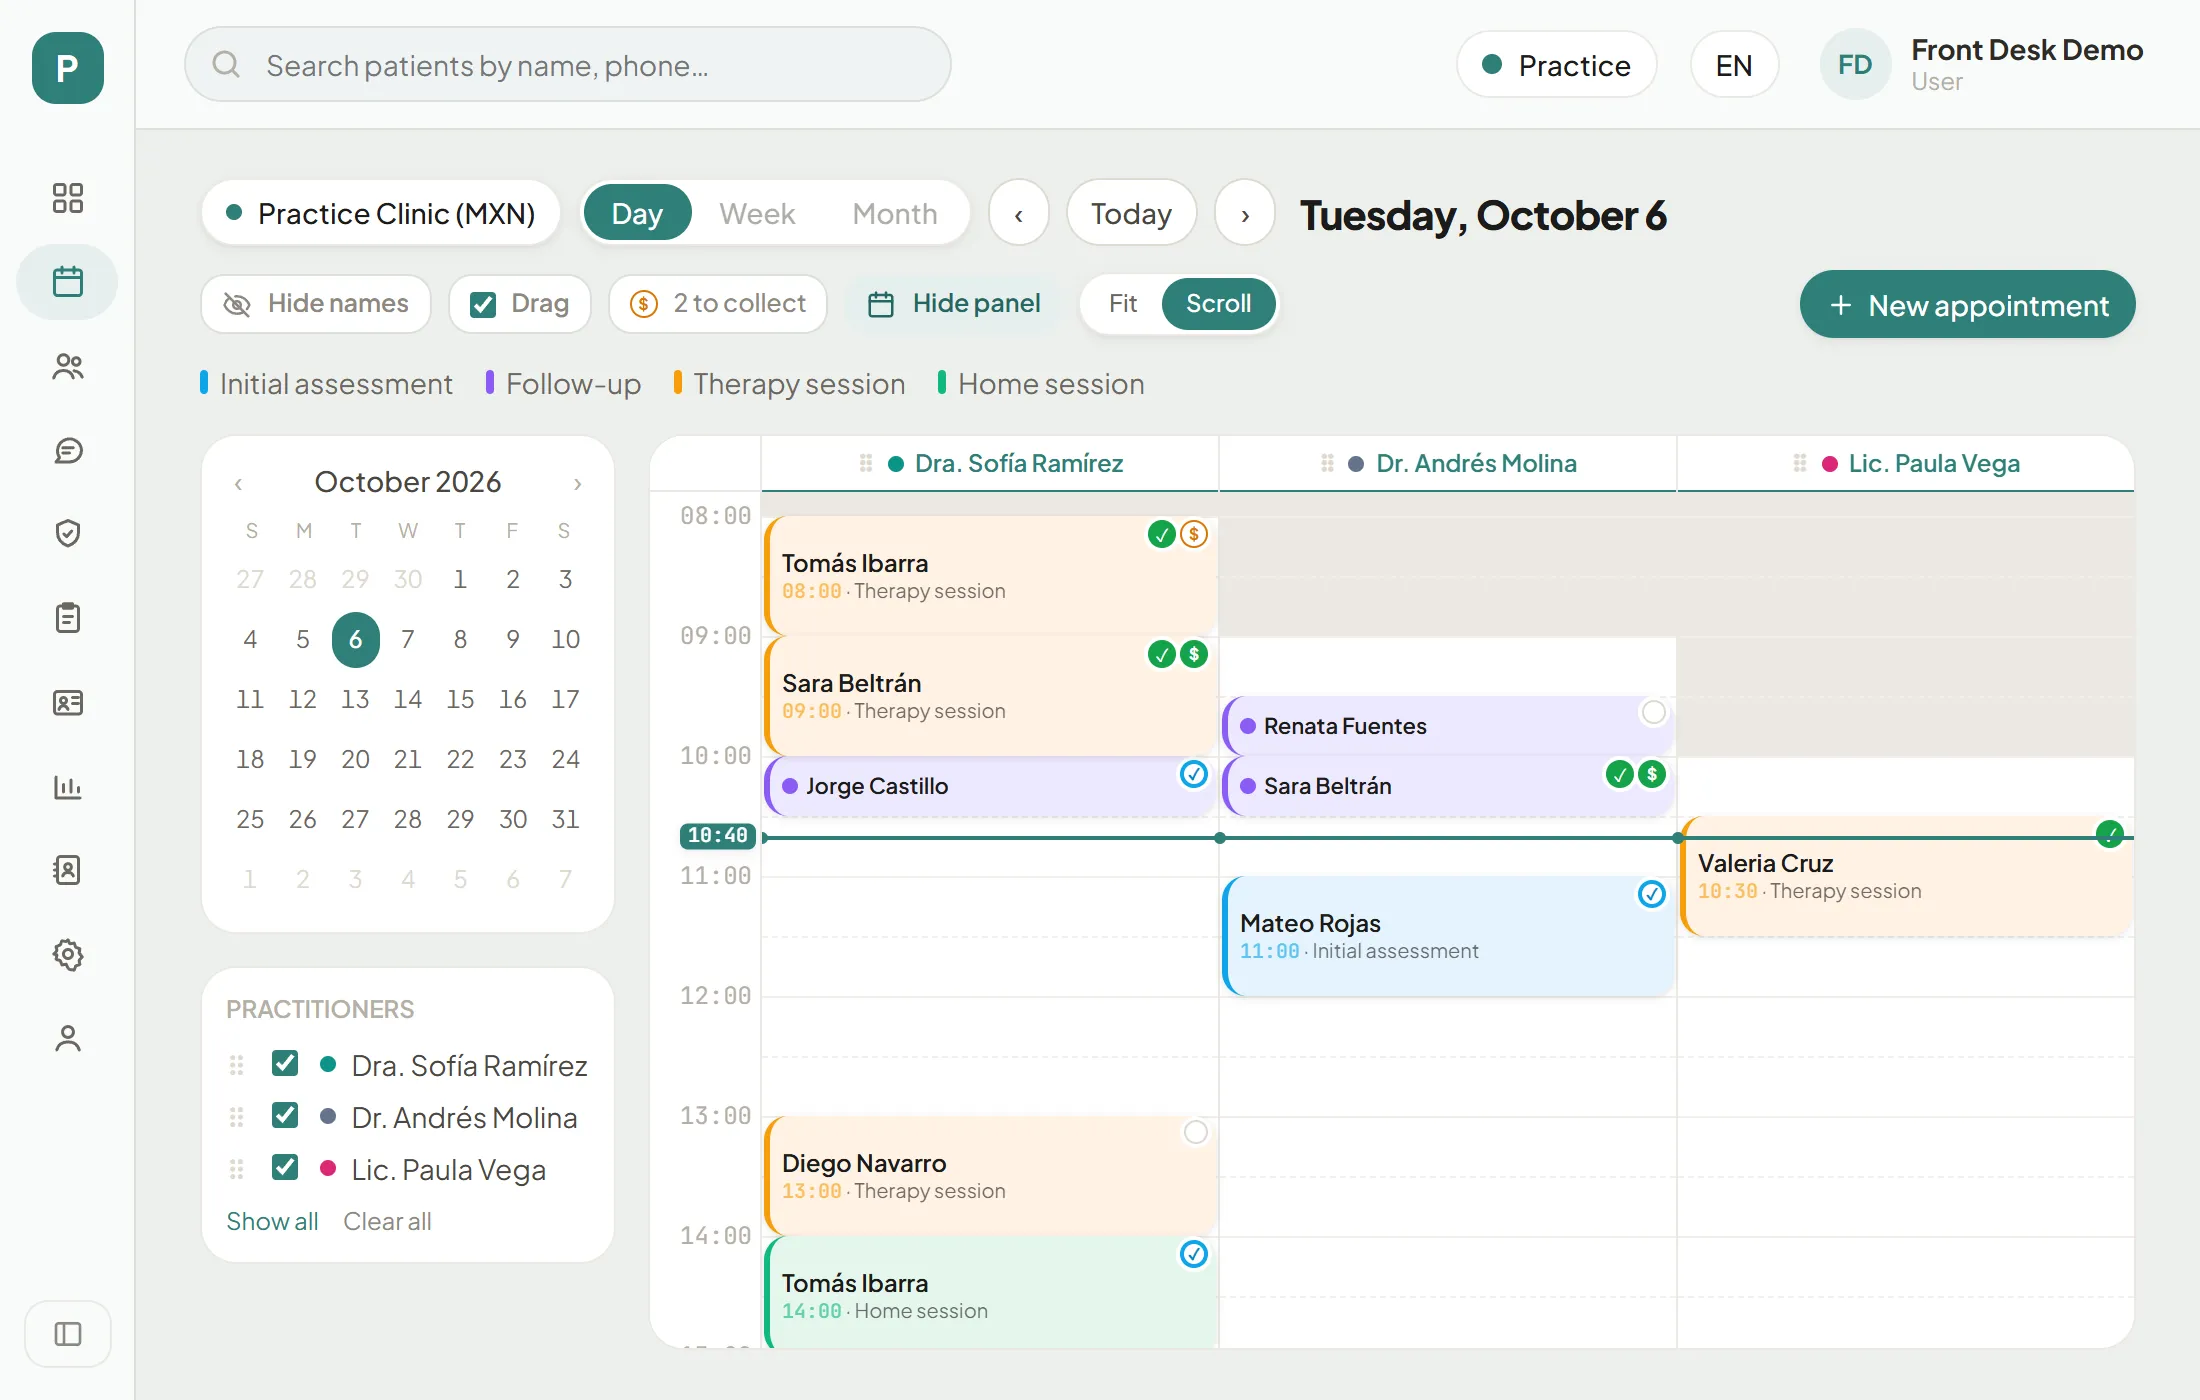
Step 1 of 5
Open the appointment
Click the appointment. Just hovering over it shows a summary.
Internal note
For notes about the appointment, say “bringing lab results”.
Internal note
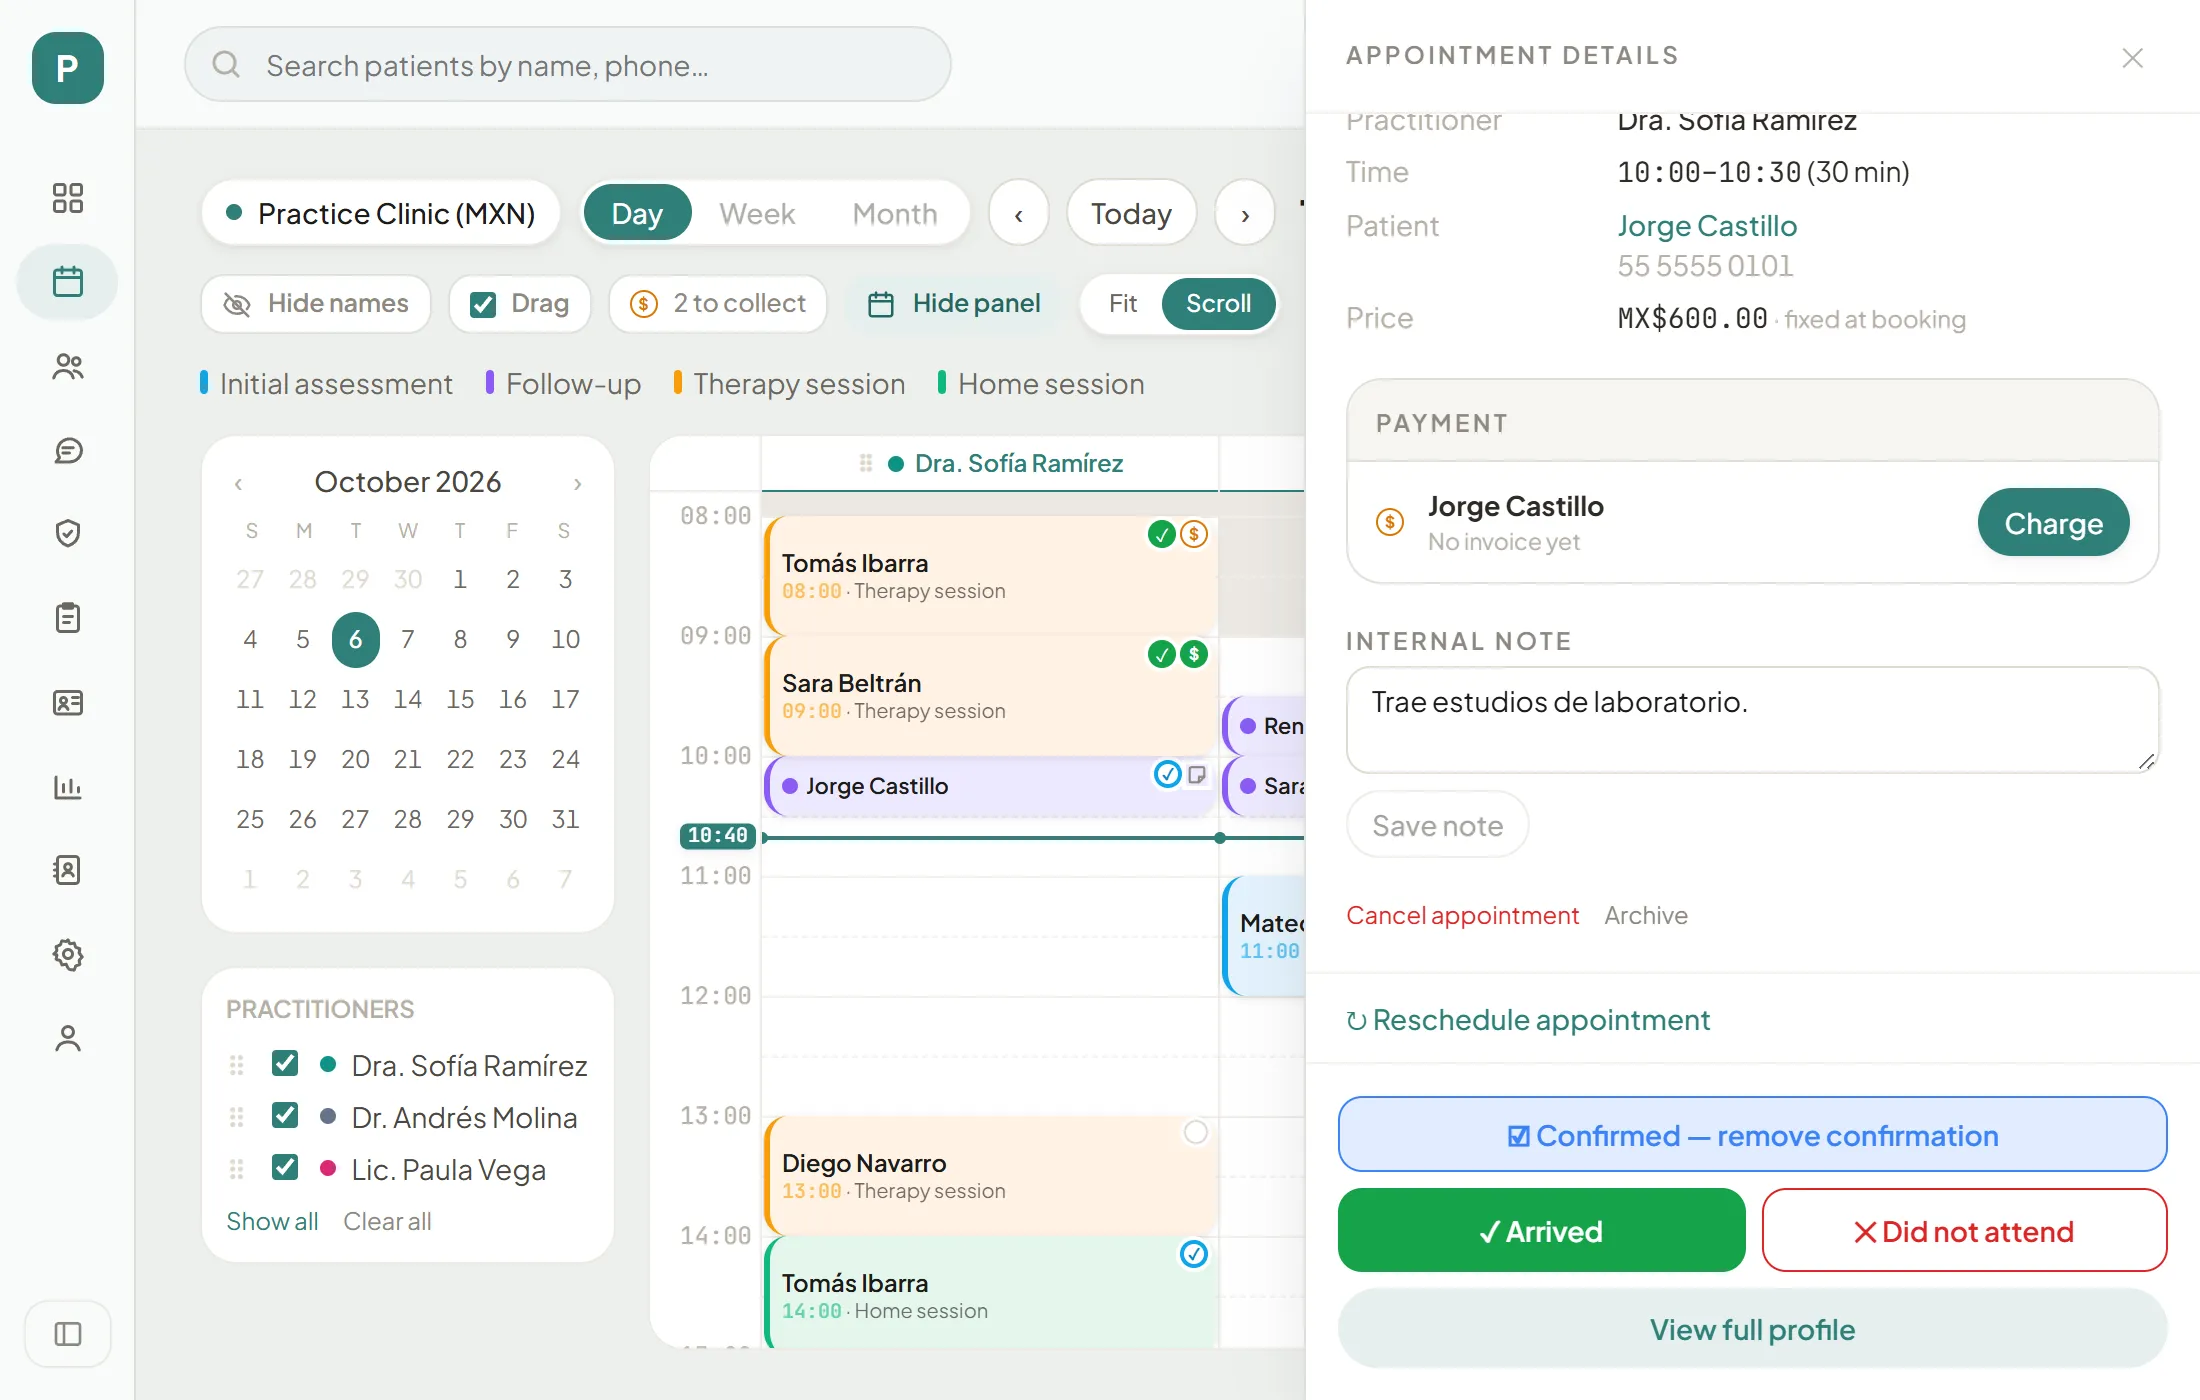
Step 1 of 2
Write and save
Type in "Internal note" and press "Save note".
Reschedule
Reschedule appointment
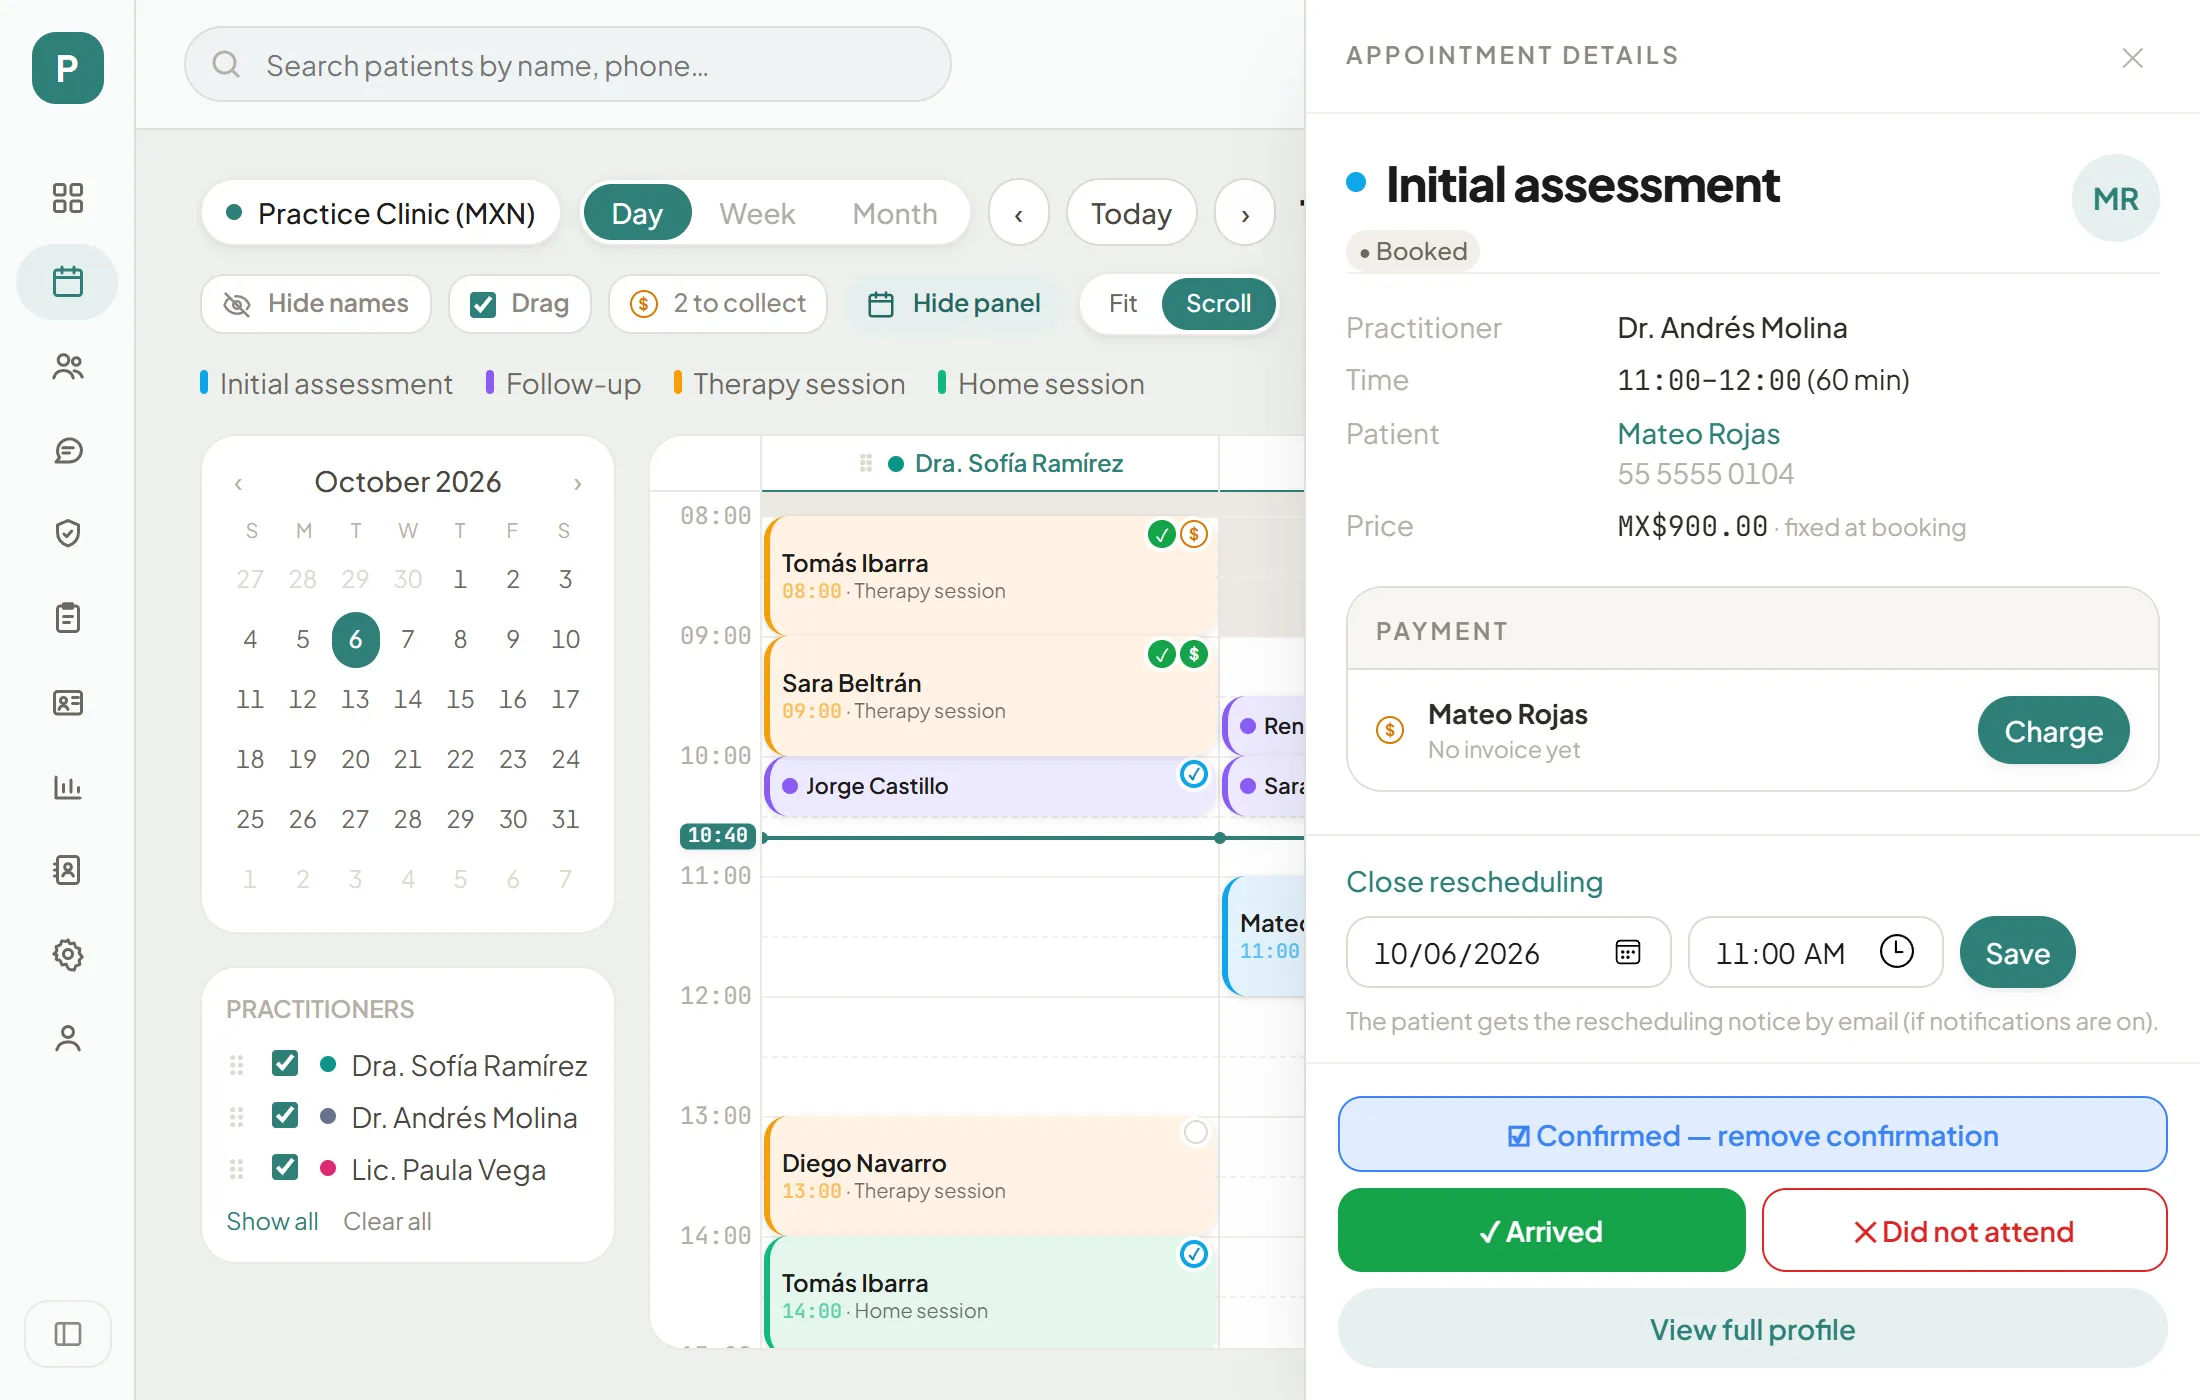
Step 1 of 2
"↻ Reschedule appointment"
It sits above the arrival buttons and opens with the current date and time.
Archive
“Archive” sits next to “Cancel appointment”. It also takes the appointment off the schedule but keeps its history, and on the patient’s profile archived appointments are hidden (filter by “Archived” to see them). Use it, for example, for an appointment entered by mistake.
Archive
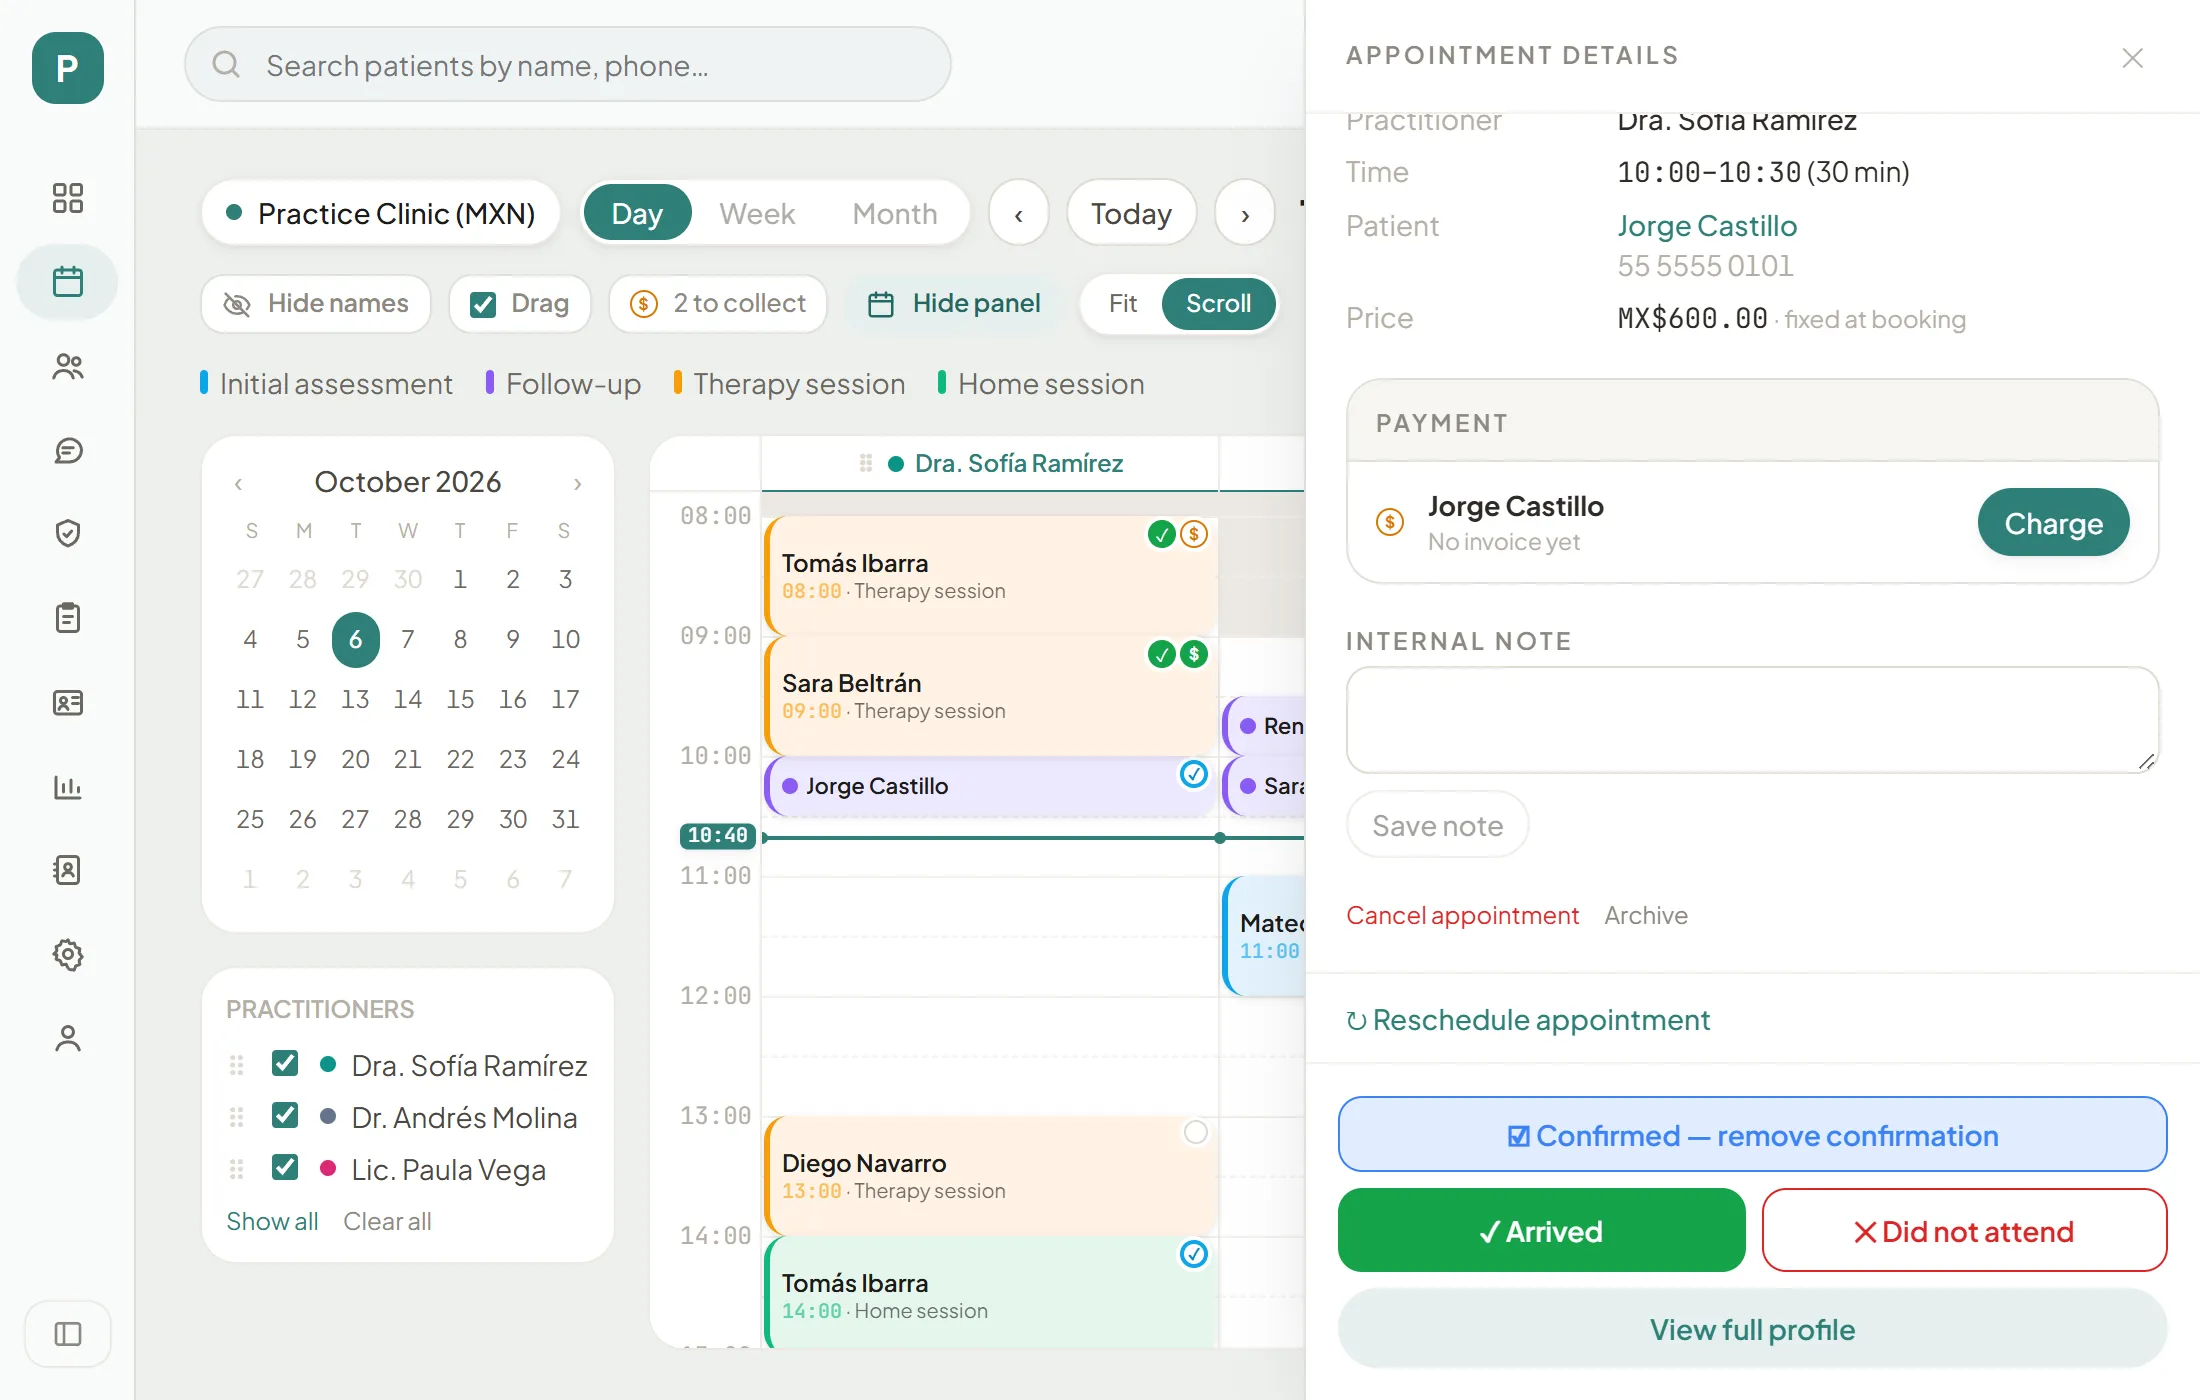
Step 1 of 1
Archive
Press "Archive" and confirm. The appointment leaves the schedule and keeps its history.
Release a patient’s future appointments
For the patient who stops coming and still holds several slots: instead of cancelling them one by one, release them all from their profile.
Release future appointments
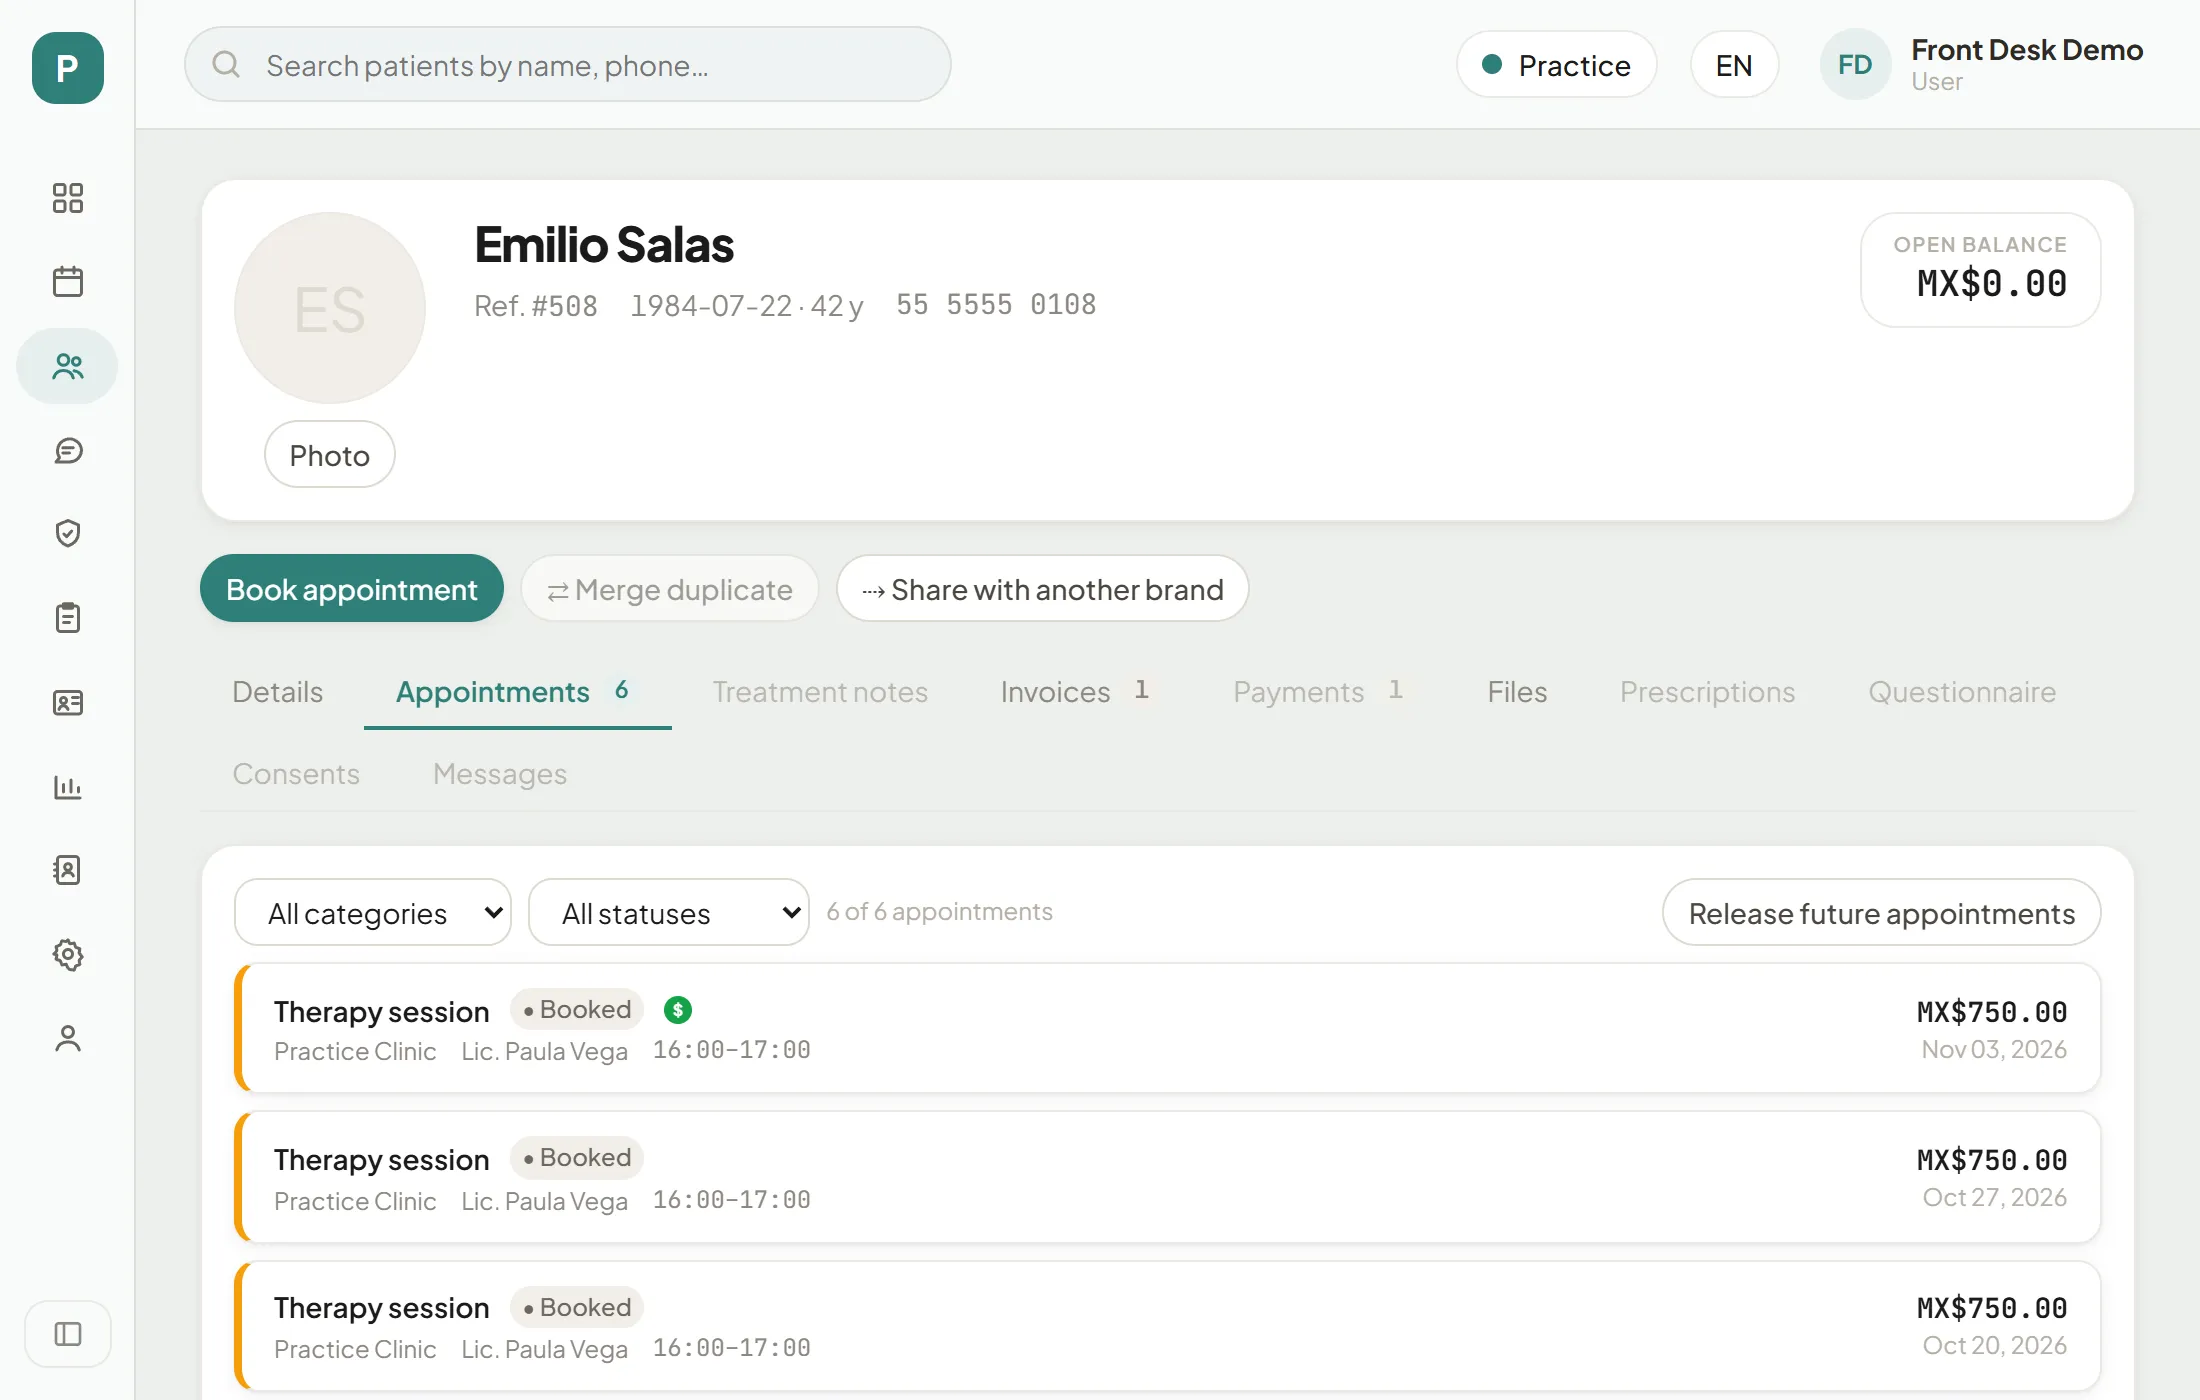
Step 1 of 4
Profile → Appointments
Open the patient's profile ("View full profile" on their appointment), go to "Appointments" and press "Release future appointments".